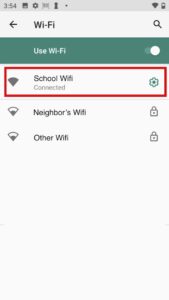
Connecting your scanner to Wifi
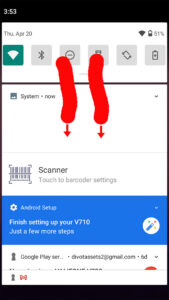
1) With two fingers, swipe down from the top of the screen to display the mini-settings menu

2) With two fingers swipe down again to expand the small top section of the menu further
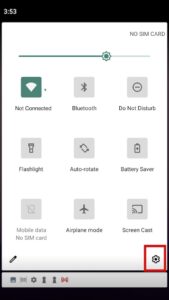
3) Click on the Settings “gear” icon on the lower right corner
4) Click on “Network & Internet”
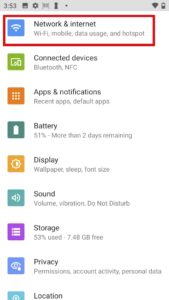
5) Click on “Wi-Fi” and ensure it is toggled “on”
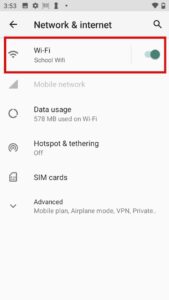
6) Click on your school’s wifi name

7) Enter your school wifi password
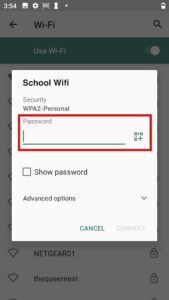
8) You are now connected to the internet and ready to use K12 Asset Pro!
