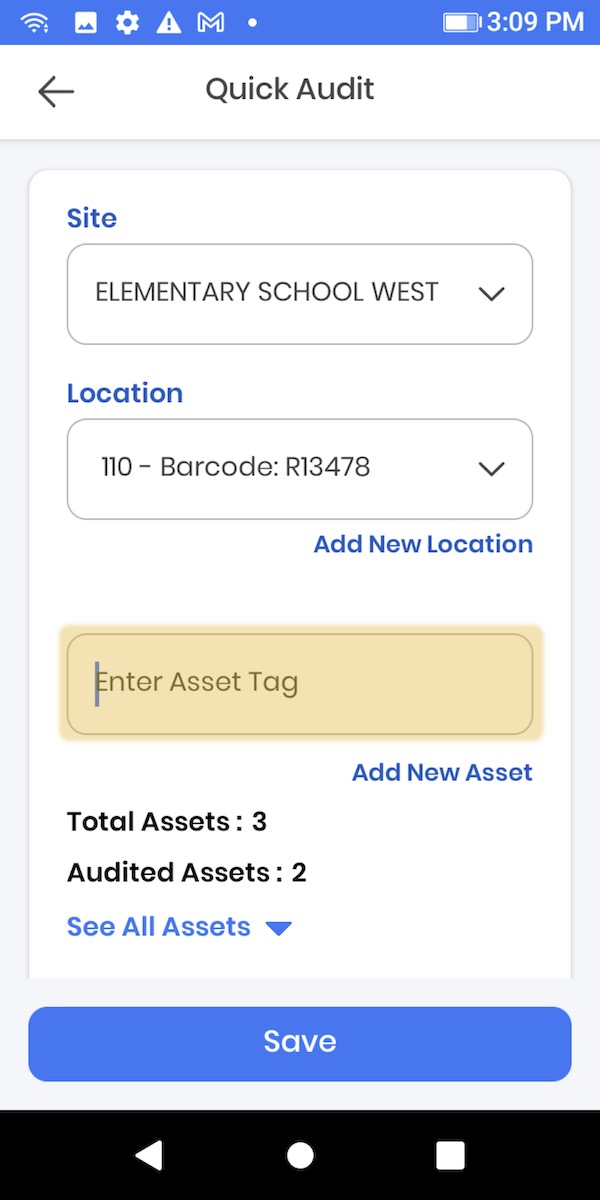
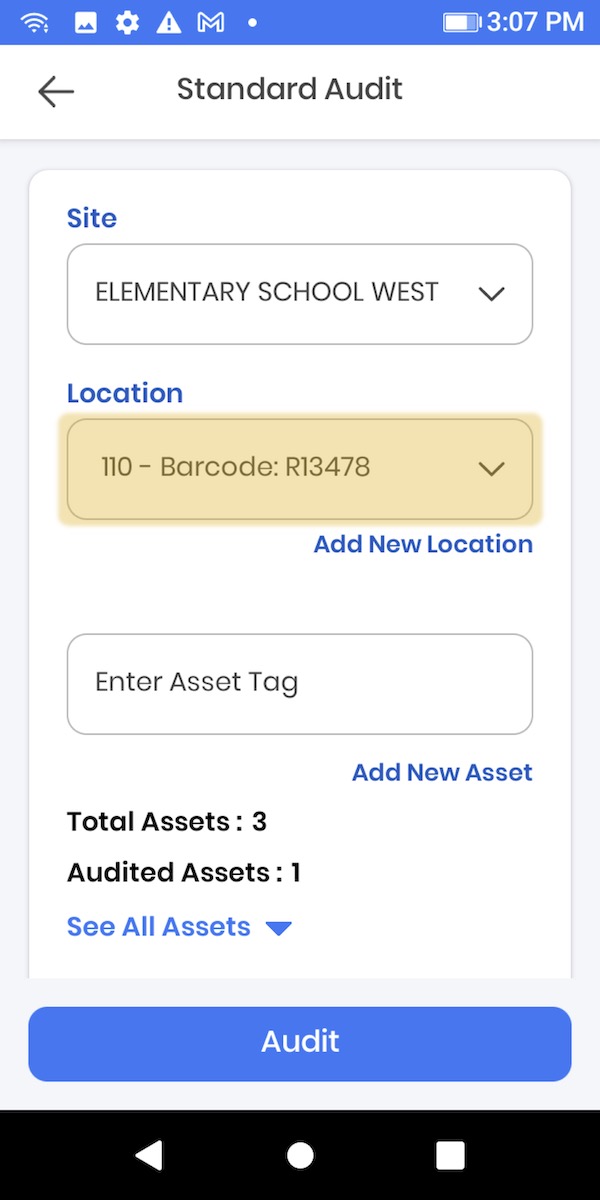
**When performing an inventory audit, please remember to always update the Location (room) to reflect the correct room you are scanning assets in!**
Standard Audit
1) Navigate to the Audit feature on your scanner.
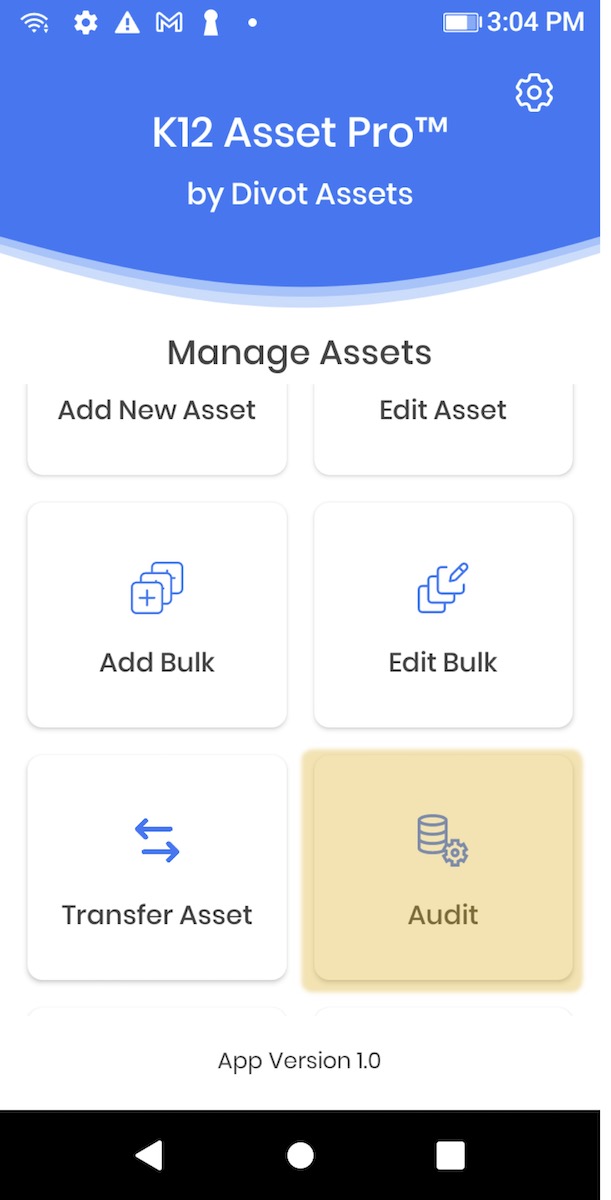
2) Click on either Standard Audit or Quick Audit. We’ll show you Standard Audit first and then you can see Quick Audit below.
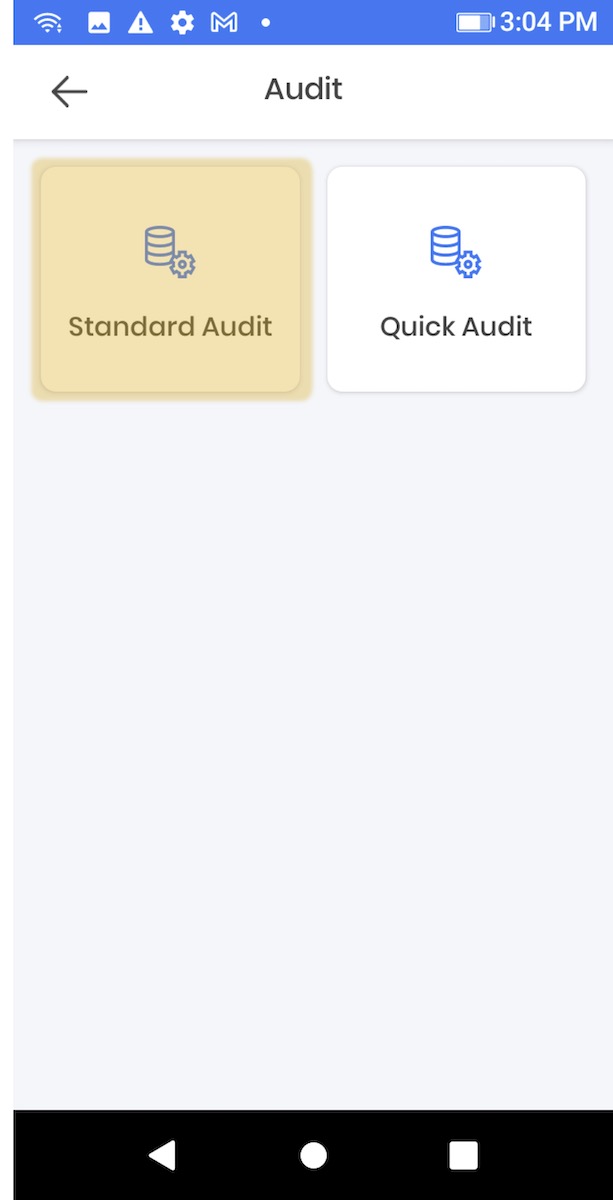
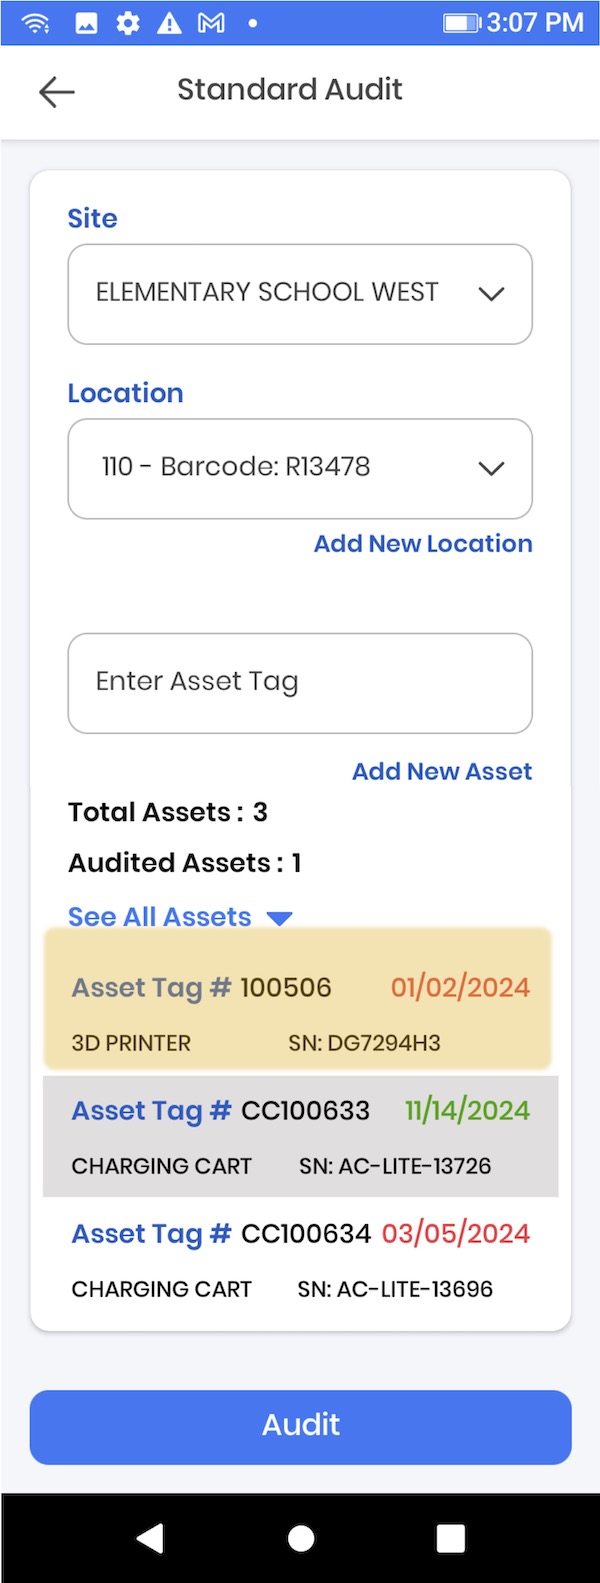
3) Enter the Site and Location that you will be doing the inventory. To find the Location you can tap on the dropdown menu and scroll to the correct Location or you can type in the name of the Location. If your district is using barcode tags on the door you can scan the Room Tag number and then select the Location name.
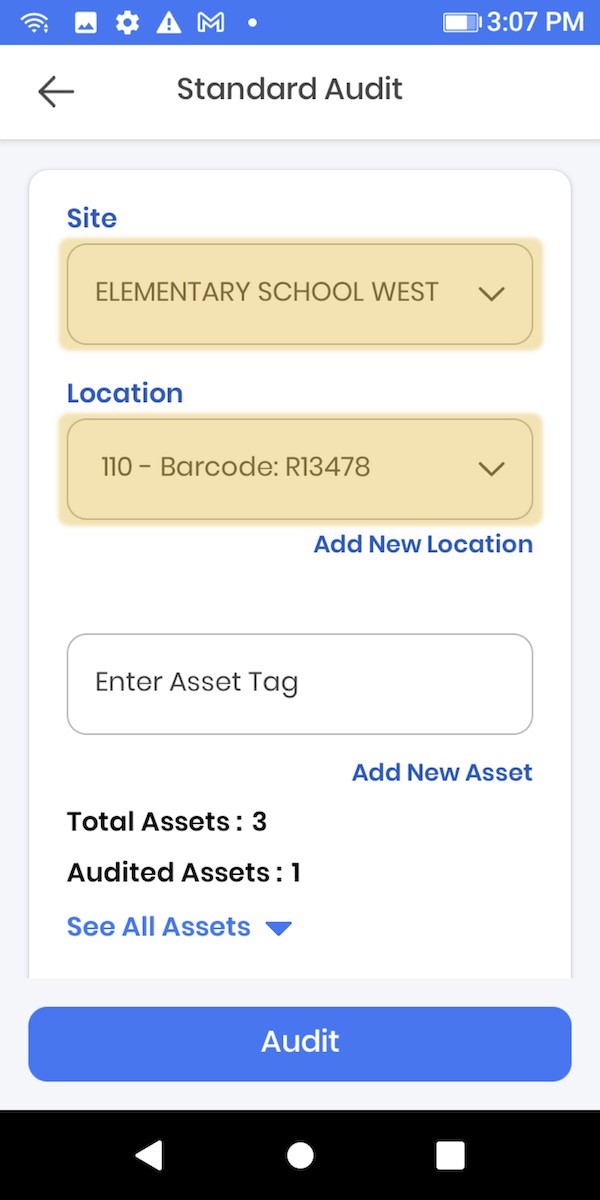
4) After you have selected the Location you will see the scanner display a list of all the assets currently assigned to that room (scroll down). Next to each asset you will see a date either in Green or Red. A Green date means the asset has recently been audited, a Red date means the asset has not been recently audit. If there is a blank date it means the asset has never been audited before (was likely created after the previous inventory was performed).
Remember: the summary list indicates assets assigned to the room, however you may find assets that have been moved INTO the room and have not yet been updated so they will not reflect in the list. Also some of the assets on the list may have been moved OUT of the room and not updated yet, so there may be items on the list that you cannot find in the room. This is the purpose of doing the inventory audit! Use this list as a helpful guide for a double check after you have completed a room but please be diligent in checking all through the room to find all required assets!
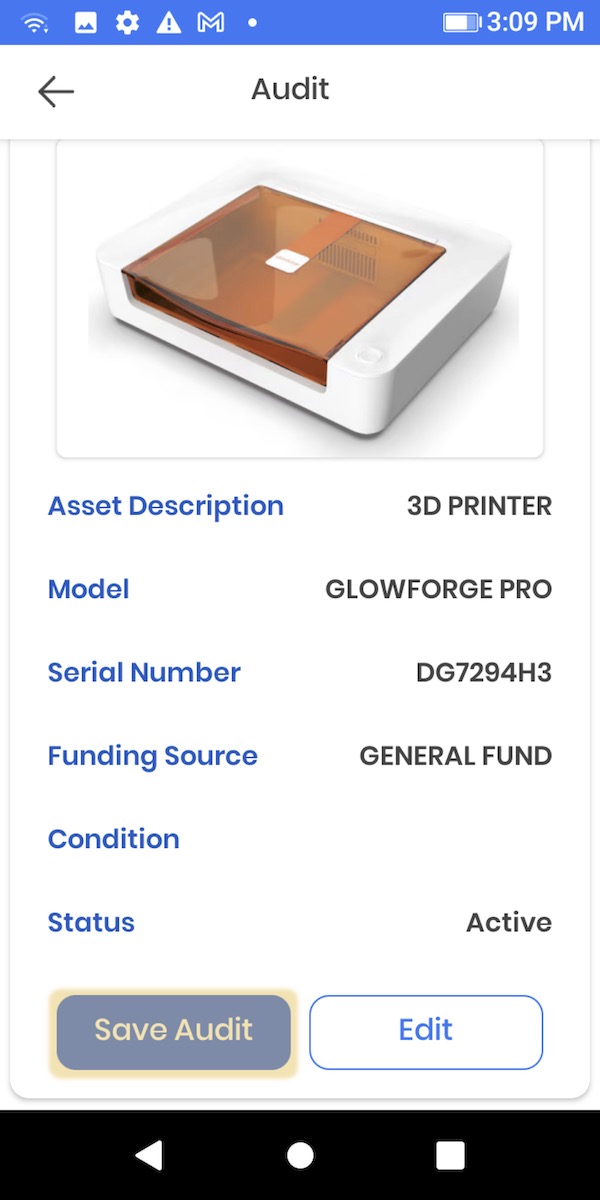
5) After you scan an asset tag it will pull up a summary information card for the asset that you have scanned. If you want to edit any of this information you can click the Edit button and change the data. If you do not need to edit any of the information you can click Save Audit.
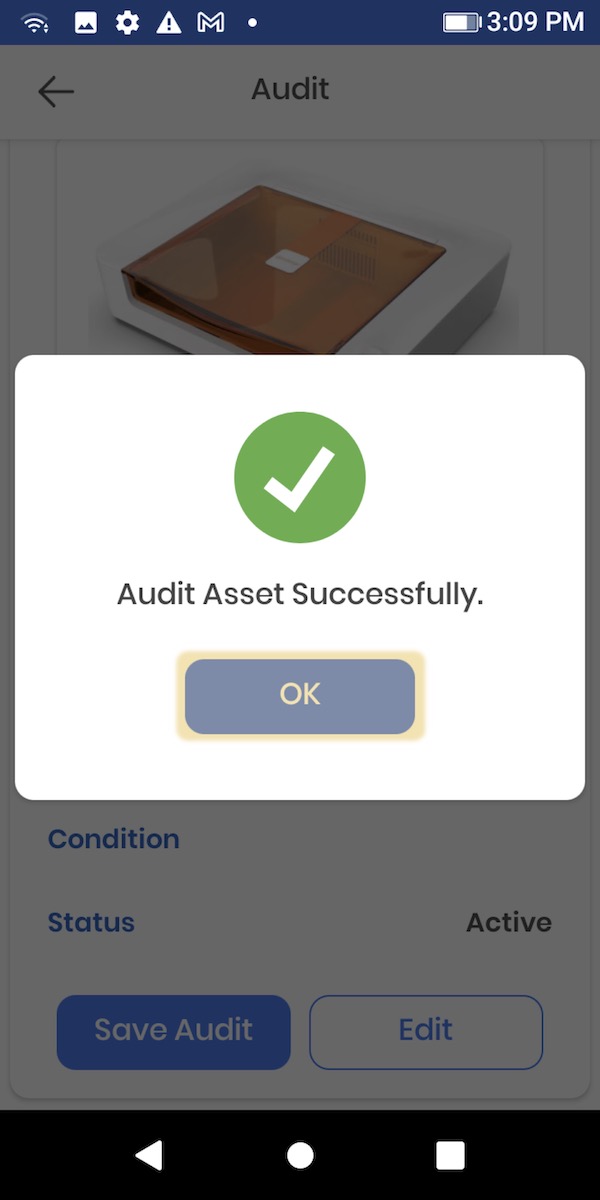
6) You will get a confirmation that the asset has been audited. Click OK.
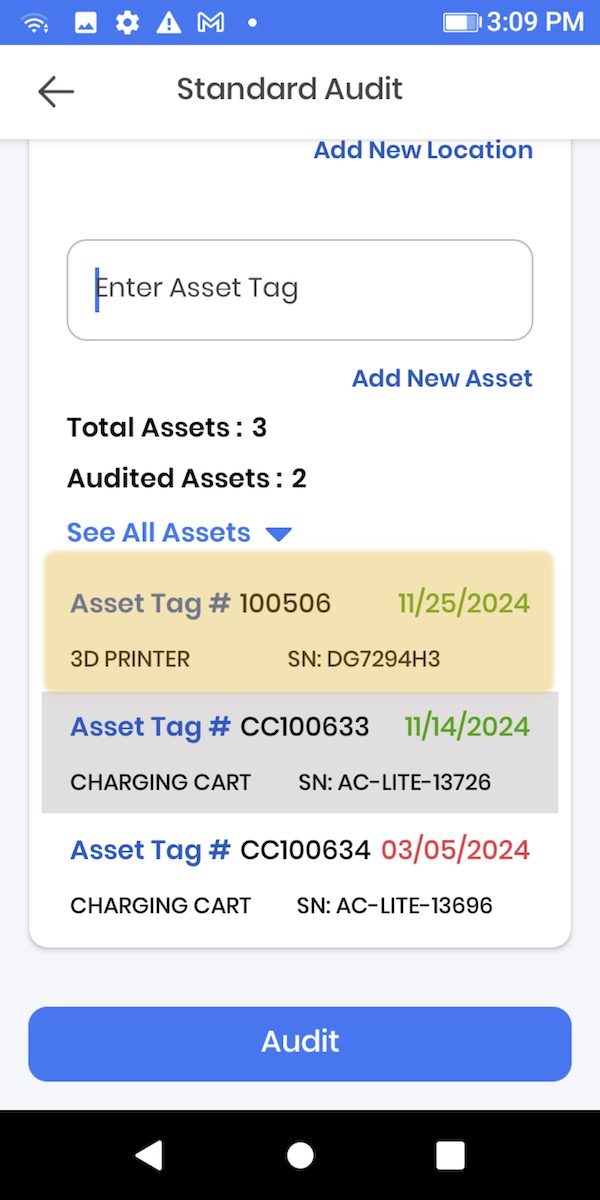
7) You are now ready to scan the next asset and repeat the above steps. You will see the Last Audit Date for the asset you have scanned is now updated as well.
8) After you have completed one room and are moving to the next REMEMBER to update the Location to the next room you are inventorying.
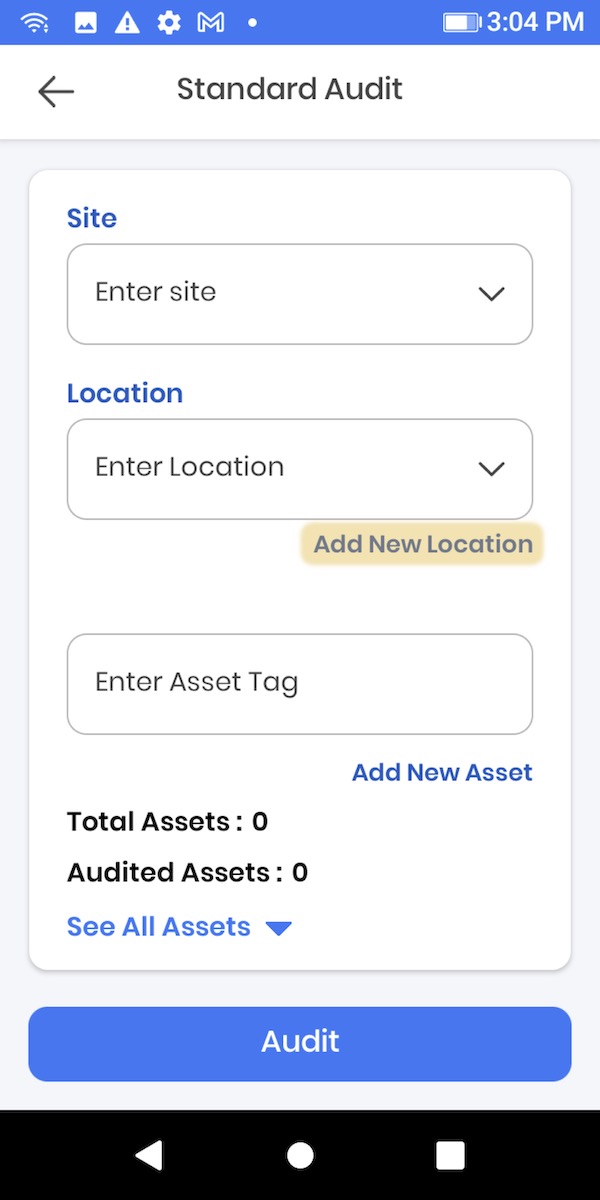
9) If you need to add a new Location during an inventory click the Add New Location button and follow these directions: https://divotassets.com/knowledge-base/add-new-location-mobile/
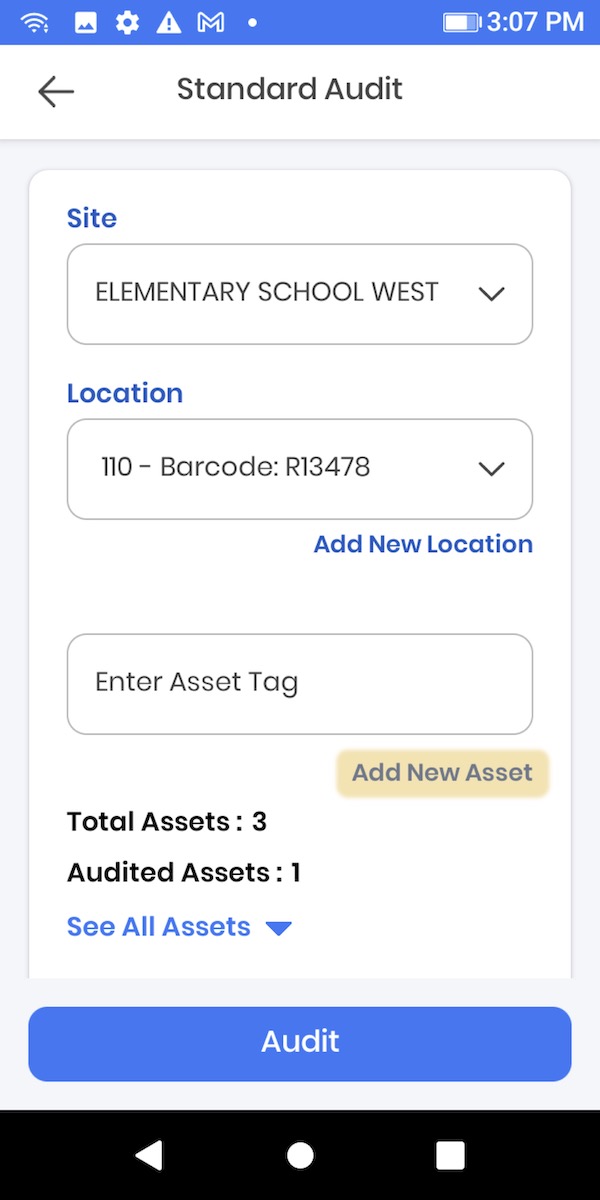
10) If you need to add a new asset during the inventory audit you can click the Add New Asset button and add all the relevant information. The Site/Location will be pre-filled in for you because the scanner already knows your location.
Quick Audit
For quick audit you will follow steps 3 and 4 above, however after have scanned an asset it will not show a summary information card for the asset you have scanned and will immediately save the audit and be ready for the next asset to be scanned. This mode is faster if you do not need to confirm the data for each asset scanned.
